Event Filters
Written By Aladia Support
Last updated 11 months ago
This guide helps users to filter events by applying multiple criteria, such as date range, calendar selection, course cycle/start date, and common events from selected users. Users can access the Event Filtering section and specify a date range to narrow down events within a specific timeframe. They can also select from multiple calendars to focus on relevant schedules. Additionally, users can choose a course cycle to filter lecture events according to the course start date. Filtered events are displayed in a clear, organized view, with options to toggle between Day, Week, and Month formats for better visualization and planning.
Filtering by Date
Click the Calendar Tab from the top bar. Navigate to the calendar section. Locate the Calendar Filter section on the left-side panel. If panel isn't visible, click the Windows icon at top left to display it.
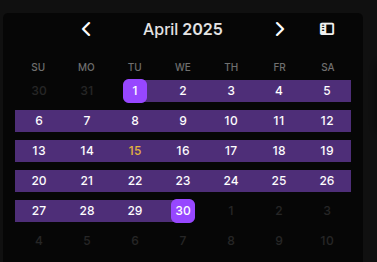
Select Start Date and End Date to define your range. Use the Forward and Backward Icon Buttons to navigate through months.
View automatically updates to show events within the specified date range. Calendar view (Day/Week) starts from your selected start date when the range spans multiple days.
Filtering by Course
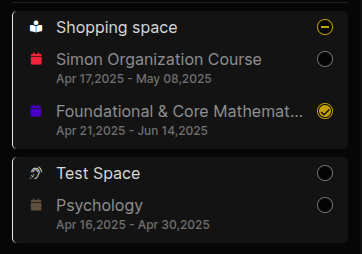
Click the Radio Buttons to select courses. View automatically adjusts to chosen course start dates. You can select one or multiple courses (only relevant events are shown).
Filtering by Organization
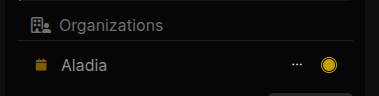
Navigate to Organization section under Shopping Space
Click the Radio Buttons to select organizations. View adjusts to chosen organization's start dates
You can select one or multiple organizations (only relevant events are shown)
Manage Organization Calendar
Open the Edit Panel
Click the Option button (three dots) next to target calendar. Available actions:
Delete: Remove calendar from organization
Edit: Open configuration panel
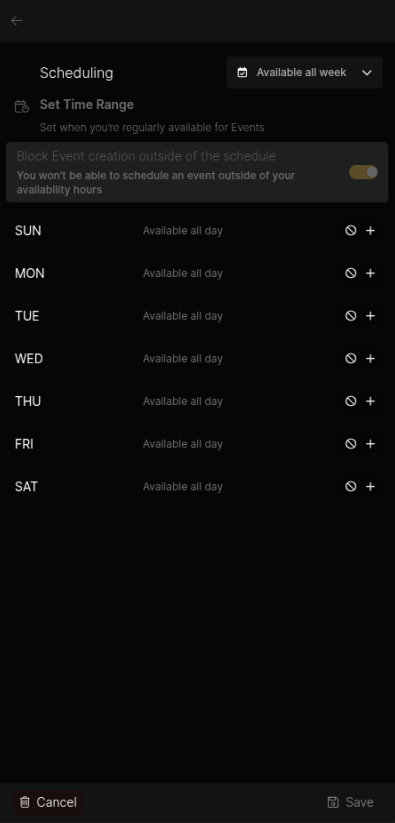
Manage Schedule
Click Scheduling section (slide-in animation)
Dropdown Selector options:
Working Day Only: Darkens Saturday/Sunday (no event creation)
Custom: Enable Slider to block event creation outside schedule
Set StartHour and EndHour for each day
Visual feedback:
Dark cells : Blocked times
Colored cells : Available slots
Click Save to confirm settings
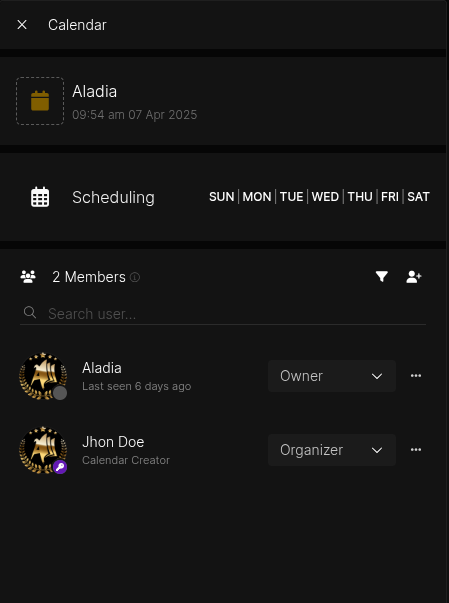
Manage Member
Navigate to the Members Section. Scroll to bottom of builder to Members section
Click Filter icon to view members by: (Owner, Organizer, Scheduler, Participant.)
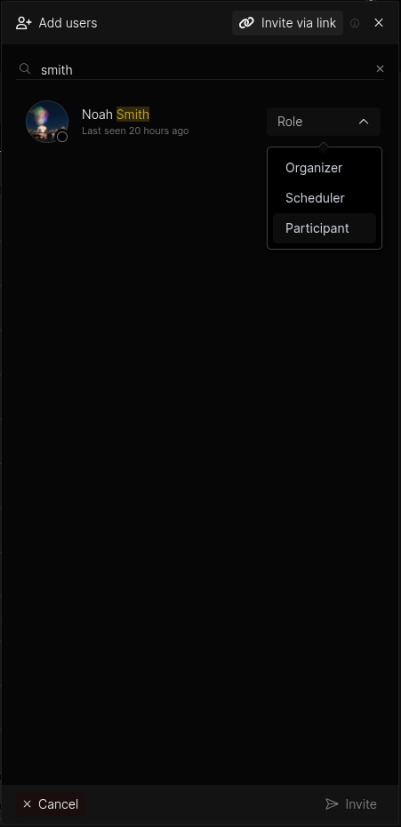
Click Add User icon in Members section. Search User field: Invite users to platform
For each user: assign role via dropdown: (Organizer, Scheduler, Participant).
Click Invite button to send invitations. View Invitation Status in builder